
01 / PHOTOGRAPHS & MEMORIES
Colorize black and white photo scans, one memory at a time
A monochrome photograph can be beautiful exactly as it is. A colorized version offers another way to connect with the same moment. The black and white photo colorizer adds predicted color to the original lightness, keeping the shadows, highlights, and structure of the scan. Use the result alongside the monochrome photograph when sharing an album or exploring a family story.
The tool is ready on this page: choose the image, keep Add color selected, and start. There are no layers to organize and no color brush to move around each object. A portrait, wedding photograph, or old street view can be processed locally in the browser, then compared and downloaded without an account.
02 / PHOTOGRAPHS & MEMORIES
Start with a good monochrome scan
For a loose black and white print, scan the full photograph before cropping. This keeps a digital master containing the original edges and any handwritten information. Make a working copy for the colorizer, straighten it, and crop away unrelated parts of the scanner bed. If the photograph is stuck in an album, a careful phone capture can be more practical than trying to remove it.
Keep the phone parallel to the page and use indirect light. Glossy paper can reflect a window or ceiling lamp, so adjust the position until the picture is evenly visible. Capture enough detail to distinguish the face from the background. A small, blurred screenshot gives the black and white photo colorizer fewer clues than a clean scan.
03 / PHOTOGRAPHS & MEMORIES
Colorize a black and white portrait
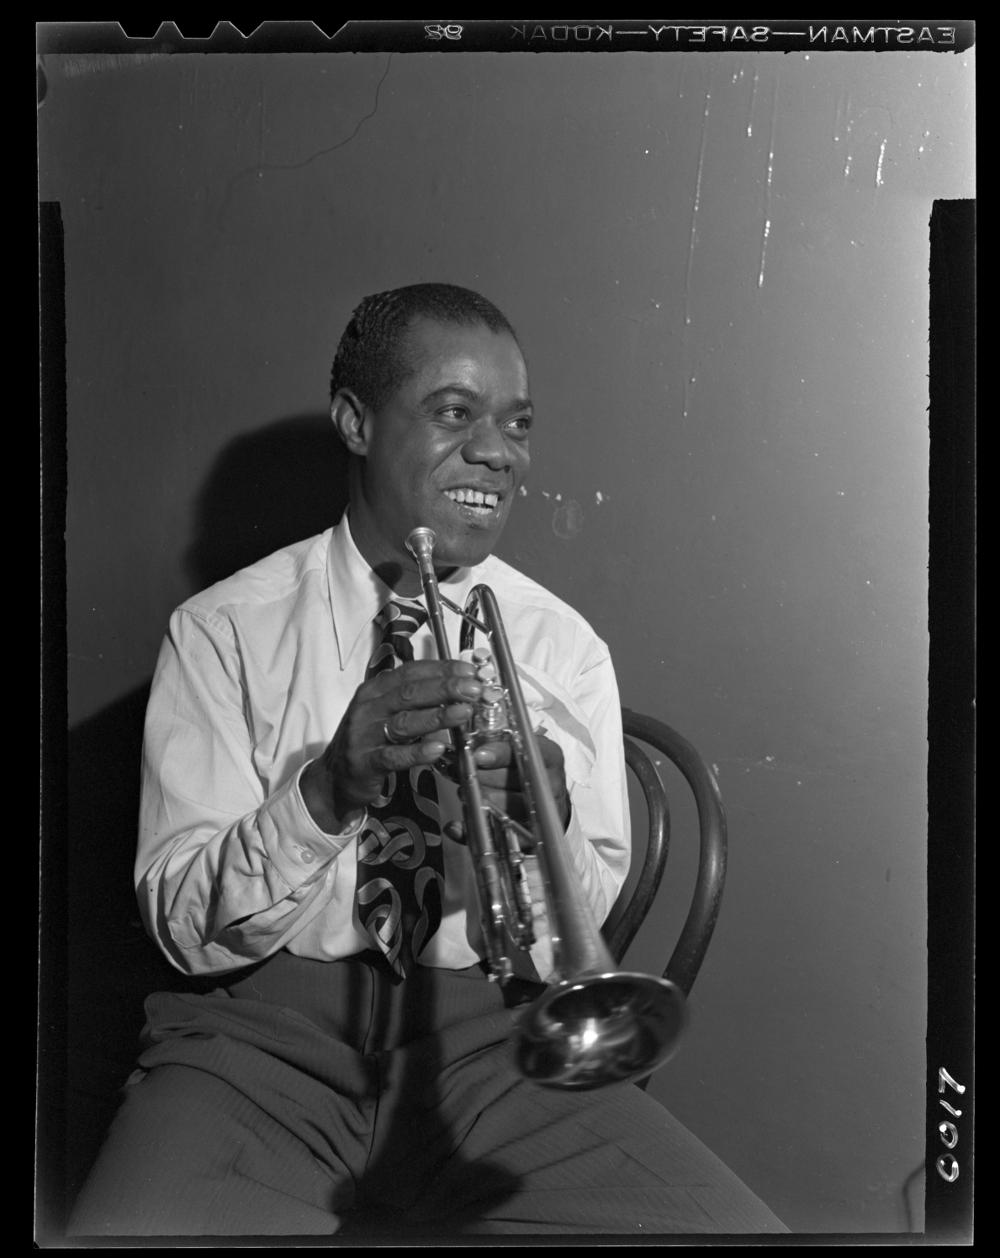
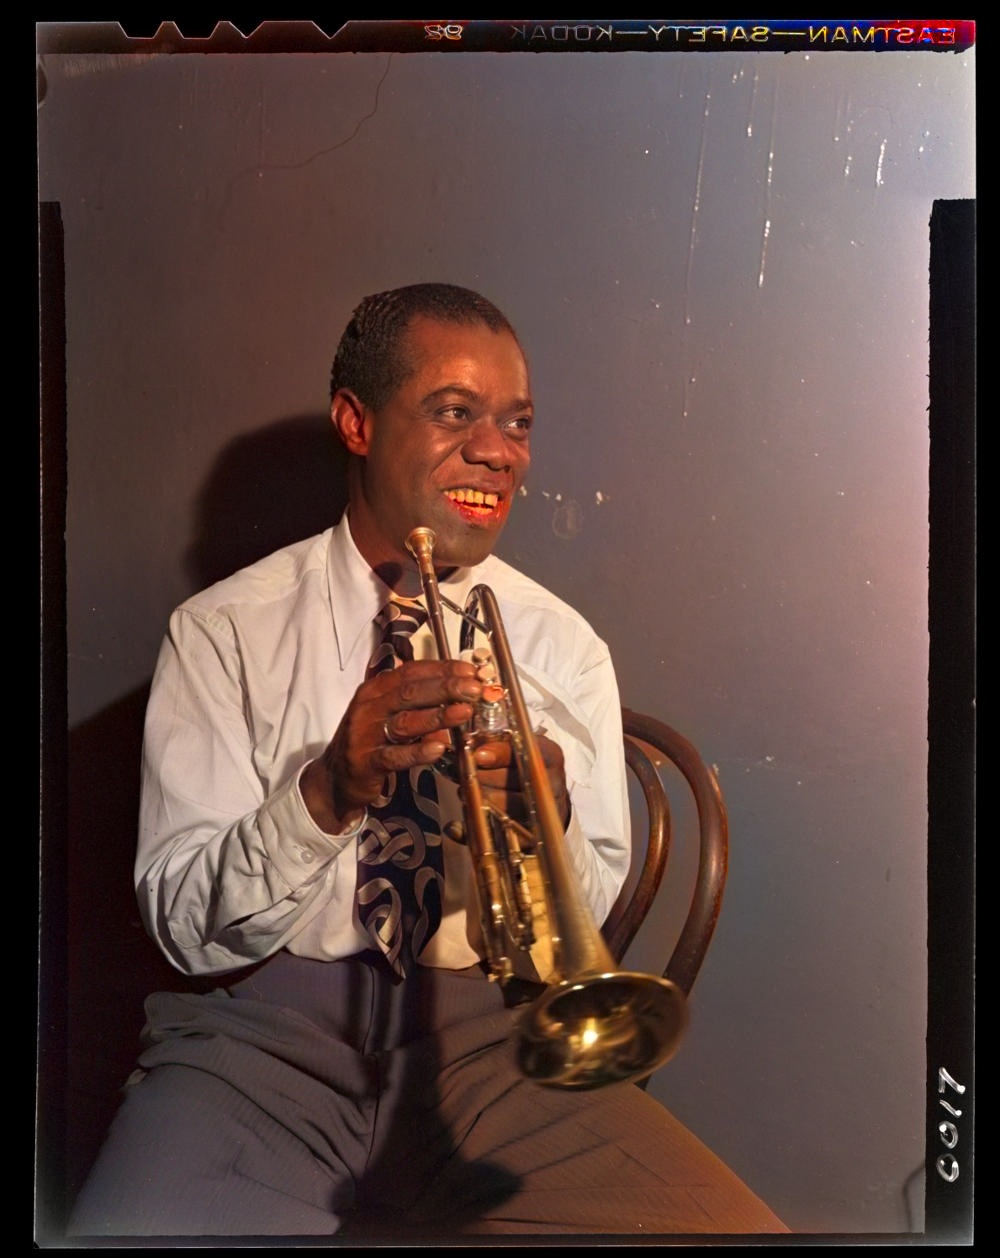
Select the portrait above and leave Add color enabled. For a soft face, also select Restore faces. The browser first prepares facial detail and then predicts colors for the complete image. This sequence helps keep the face and its surroundings together rather than presenting a separately edited headshot.
Use the comparison slider around skin, hair, clothing, and the background. A monochrome print may have an elegant tonal balance that is worth preserving in the final result. Check the image at normal viewing size, save a copy, and compare it with the black and white version in the setting where it will actually be used, such as a digital album or family message.
04 / PHOTOGRAPHS & MEMORIES
Understand black and white tones before adding color
Different real colors can appear as the same gray value in a black and white photograph. Film response, lighting, filters, and print development all influence the tones. The colorizer uses visual patterns to choose plausible color relationships, but a single gray region cannot tell it the exact color of a dress or wall.
Treat the colorized photo as an interpretation of the scene. Where the family remembers a uniform, school sweater, or painted house, keep that information in a caption. A small note saying that color was added with AI helps an archive remain understandable years later, especially when copies pass between relatives who did not see the original print.
05 / PHOTOGRAPHS & MEMORIES
Work with faded, sepia, and uneven prints
Many old prints are neither clean monochrome nor modern color. Paper can yellow, a print can fade toward sepia, and one side may become darker from storage. Begin by making the most even capture possible. Crop away a strong paper border when the aim is to colorize the picture rather than preserve the physical object in the final frame.
The colorizer works from the picture structure and source brightness. It does not need a hand-drawn color region for every object. If the original has a color cast or uneven lighting, compare the result carefully across the whole image. Keep the scan as a master so a future edit can revisit the print tone without starting from the colorized copy.
06 / PHOTOGRAPHS & MEMORIES
Make a useful colorized album copy
For a family collection, use a consistent routine: source scan, restored monochrome copy when needed, and colorized copy. This makes it easy to show both the historical photograph and the interpretation. A short caption can identify the people, approximate year, location, and any uncertainty about names. Relatives may recognize a place more readily once the picture is easier to view.
Choose PNG for an image that may be edited again, or JPG for a lighter sharing copy. Store the colorized photograph under a different filename rather than saving over the master. Continue with the general photo colorizer for other scenes, or use the restoration guide for help preparing a large collection of black and white photo scans.
THE DETAILS, SIMPLY PUT
A few common questions
Is it free to colorize black and white photo scans?
Yes. Colorize and download the image for free, without signing in or buying credits.
Does colorization change the original file?
No. The source remains on the device. The tool creates a downloadable result, so the black and white master can stay separate.
Can I add color to a sepia photograph?
You can try the colorizer with a sepia scan. Use a clean, evenly lit capture and compare the finished colors with the source before saving the new copy.
How do I colorize a black and white face?
Choose the photograph and keep Add color selected. Turn on Restore faces too when facial detail would benefit from restoration.
Can I use the tool on a phone?
Yes, use a browser on a phone to select the image. Processing speed depends on the device, and the browser prepares the tools before the first result.
Are the colors the original colors?
They are predicted colors. Use the colorized version as a fresh interpretation and keep the black and white photograph as the historical reference.