
01 / PHOTOGRAPHS & MEMORIES
Unblur face details in the complete photograph
A small, soft face can make a meaningful photograph difficult to enjoy. Face restoration helps recover a clearer interpretation of eyes, lips, hair, and facial structure from the image. The tool detects people automatically, aligns each face, and blends restored detail back into its original place, so the result stays a photograph rather than a collection of cropped headshots.
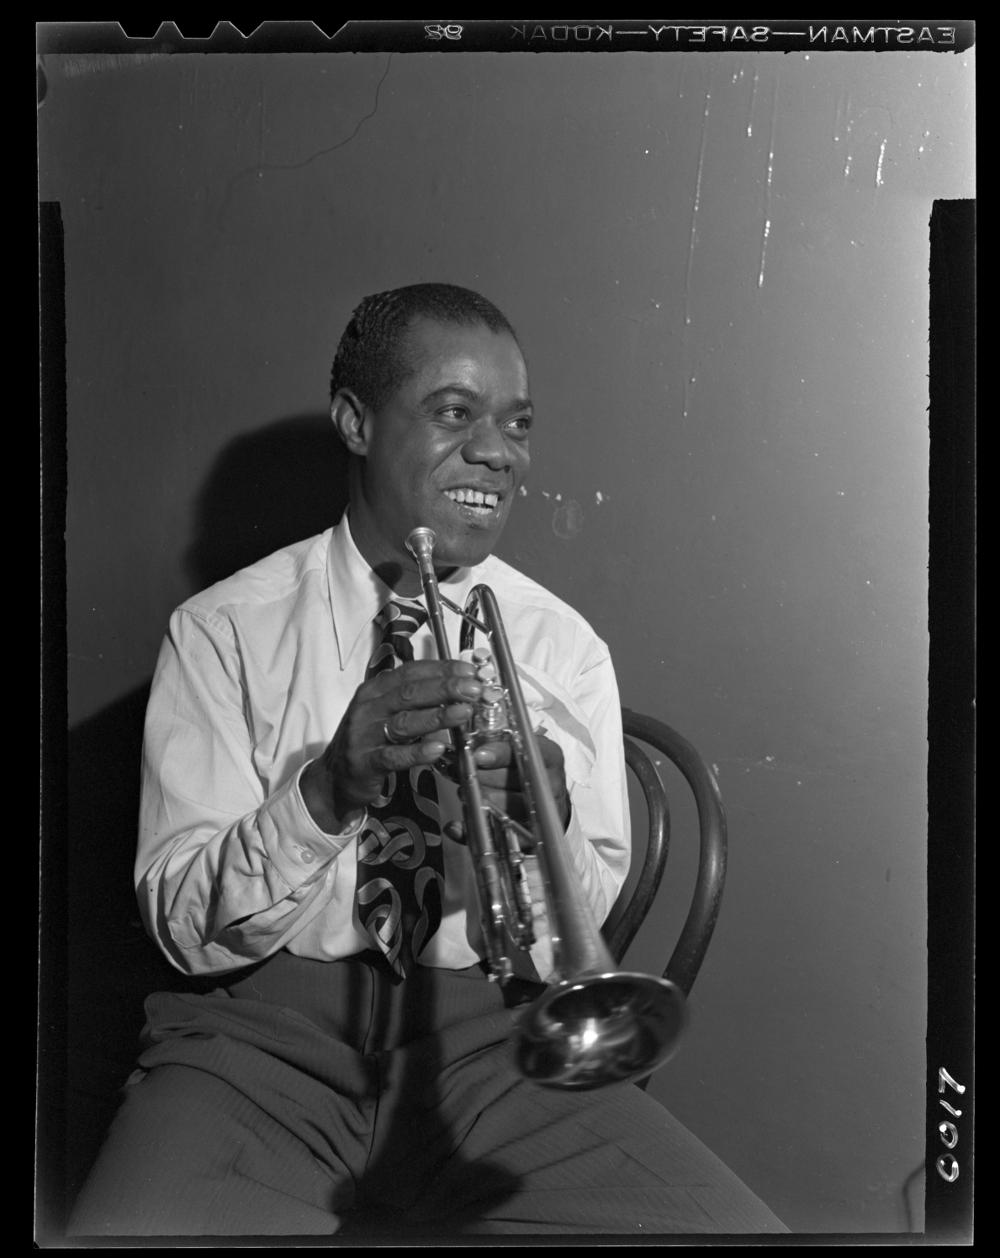
Use this free unblur face tool with digitized family prints, soft portraits, compressed photo copies, and group snapshots. Select the image above, keep Restore faces enabled, and choose a strength. There is no account or upload queue. The photograph is processed on the device, with the source available in the comparison slider.
02 / PHOTOGRAPHS & MEMORIES
How to unblur a face online
Choose a JPG, PNG, or WebP containing a visible face. If the image is a scan of an entire album page, crop the working copy around the photograph first. This gives the portrait more room in the file and avoids spending image space on the desk or page border. Keep the uncropped master separately when it contains useful captions.
Start with the default strength and press Restore photo. The first result includes time to prepare the browser tools. Once the photograph appears, move the slider across the eyes, smile, glasses, and hairline. Use the strength control for another pass when a gentler or stronger blend would fit the original better.
03 / PHOTOGRAPHS & MEMORIES
Face restoration and ordinary sharpening
Ordinary sharpening makes existing edges more pronounced. It can be helpful for a slightly soft image, but strong sharpening may also emphasize grain, compression blocks, and scratches. AI face restoration takes a different approach by using learned facial patterns to predict missing detail within the detected face.
That prediction can make a low-quality portrait easier to view, but the result is still an interpretation. Judge the person as a whole rather than looking only for crisp eyelashes or a sharper jawline. For a recognizable family portrait, a moderate restoration blend often gives a useful balance between new detail and the source expression.
04 / PHOTOGRAPHS & MEMORIES
Choose a face restoration strength
A low strength keeps more of the original image visible and blends restored detail gently. Try it for a portrait that is already recognizable, for a person wearing glasses, or for a scan where the grain is part of the desired look. A higher strength makes the restored facial structure more visible and can be useful for a very soft copy.
Compare the eyes and mouth after each pass. Fine wrinkles, teeth, and hair strands can change as the model reconstructs detail. Use the version that feels most faithful to the person, not automatically the one that looks smoothest at a large zoom. Saving two strengths under separate filenames makes the choice easier to revisit later.
05 / PHOTOGRAPHS & MEMORIES
Restore faces in group photographs
Group pictures can contain faces of very different sizes. Automatic detection uses the full image to find visible people and process up to eight detected faces. Each face is aligned independently, which helps with slight differences in head position. The resulting patches are blended into the complete image, retaining the scene around the people.
For a distant group where faces occupy only a tiny part of the scan, a better source can make a substantial difference. Look for the original file, scan the print again, or crop a working copy more tightly around the group. This gives the unblur face workflow more useful structure than a repeatedly resized screenshot.
06 / PHOTOGRAPHS & MEMORIES
Save a clearer portrait for the album
Download the restored photograph as PNG when keeping an editing copy, or JPG when sending a smaller image to relatives. Keep the source under a different filename so a later comparison remains possible. A useful archive entry can also include the names, approximate date, location, and any details that family members remember about the occasion.
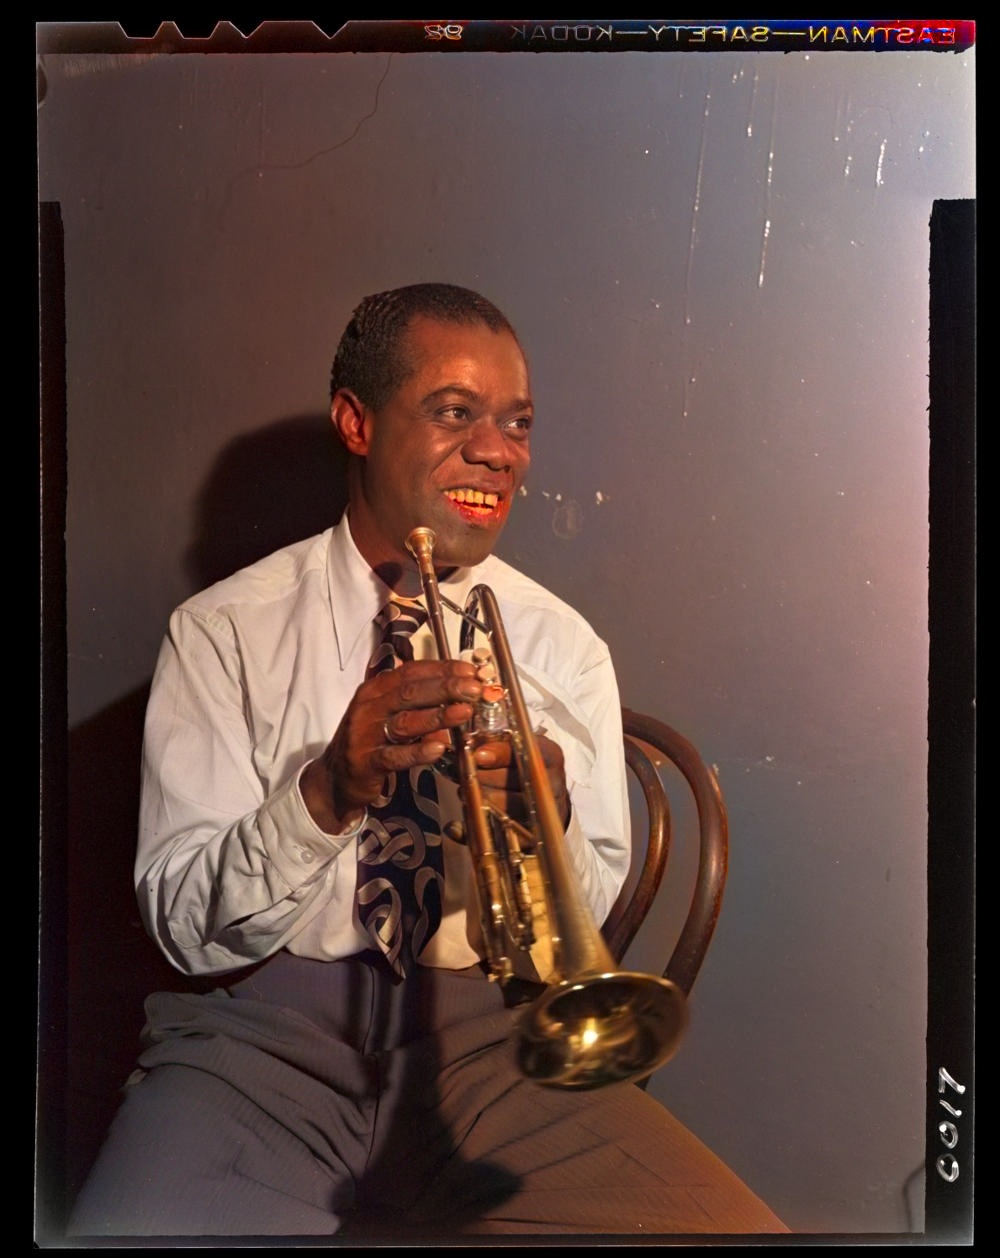
Leave Add color off to retain a monochrome portrait, or enable it for a colorized interpretation after facial restoration. For a complete workflow, the restoration guide covers scanning and organizing old photos. The general restoration page is useful for an album containing a mix of portraits, group photographs, faded prints, and optional color versions.
THE DETAILS, SIMPLY PUT
A few common questions
Can I unblur face details for free?
Yes. Face restoration, comparison, and downloading are free. There is no watermark, account, or credit purchase.
Do I need to crop every face?
No. Automatic detection locates faces in the complete photograph and processes each one independently. Crop away unrelated borders when preparing the source image.
Can I restore a face without uploading it?
Yes. Detection and restoration run locally in the browser. The selected photograph is not sent to a server for processing.
What strength should I use?
Start with the default and compare the expression. Lower strength keeps more of the source visible; higher strength emphasizes the reconstructed detail.
Does face restoration reveal the exact original face?
The model predicts facial detail from the input. Keep the source and compare the expression, especially for eyes, teeth, glasses, and other distinctive features.
Can I use face restoration on black and white photos?
Yes. Leave Add color off for a monochrome result, or select it to create a color interpretation after face restoration.