
01 / PHOTOGRAPHS & MEMORIES
How to restore old photos: start with the original
Before editing an old photograph, spend a moment looking at the physical print. Notice curled edges, glossy reflections, writing on the back, or parts that are already loose. Place the photograph on a clean, flat surface and handle it by the edges. The aim is to make a useful digital copy while keeping the original available for another look.
If the photograph is inside an album, capture the page before making a tight crop. Names, dates, neighboring pictures, and handwritten captions can help identify the scene later. Keep these context images with the collection. Photo restoration becomes much more useful when a clear image is accompanied by the story of the people and place.
02 / PHOTOGRAPHS & MEMORIES
Step 1: scan or photograph the print
A flatbed scanner is a convenient option for a loose print. Scan in color even when the photograph is monochrome if you want a record of the paper tone. For a small print, a higher-resolution scan can give more room to crop and inspect faces. Save a master copy before applying filters or compression, then make a JPG or PNG working copy for the browser tool.
A phone camera works well for many album projects. Use soft daylight, keep the camera parallel to the print, and move reflections out of the image. Fill most of the frame with the photograph without cutting off important edges. Take two or three captures, zoom in on faces, and choose the clearest version rather than relying on the first attempt.
03 / PHOTOGRAPHS & MEMORIES
Step 2: straighten and crop the working copy
Straighten the image so vertical lines and the print edges look natural. Crop away the tabletop, scanner border, or unrelated album page. This makes the main photograph easier to view and gives faces more space within the file. Keep the full scan separately, especially when there are handwritten labels or distinctive print borders worth preserving.
Avoid aggressive sharpening or heavy contrast changes before using the restoration tool. Very dark shadows can hide facial structure, while brightened highlights can erase texture from a light dress or face. Start with the most balanced capture available. A working copy should make the original information easier to use, rather than add several generations of previous edits.
04 / PHOTOGRAPHS & MEMORIES
Step 3: restore faces and compare the result
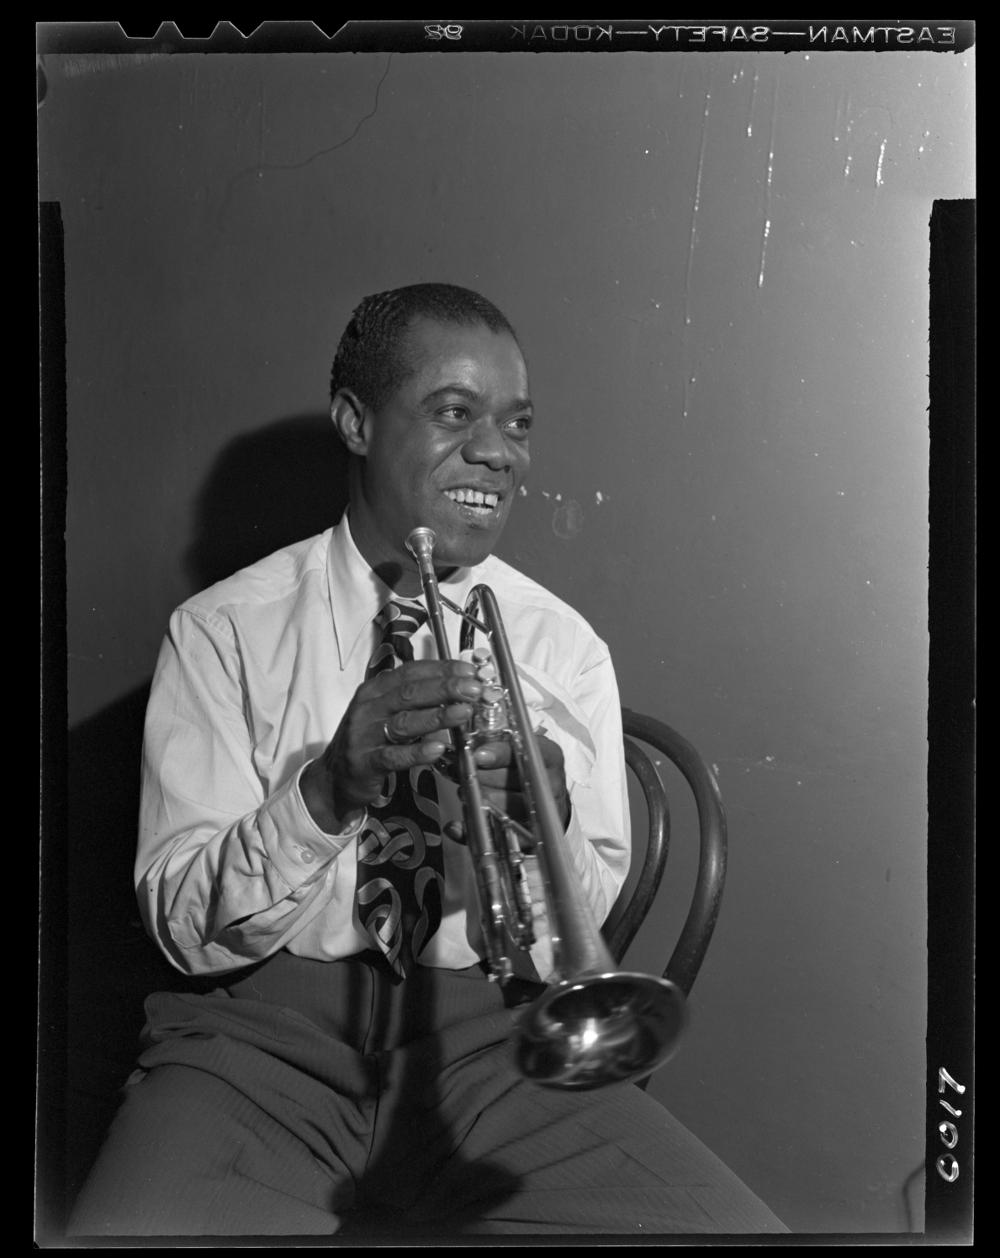
Choose the working copy in the tool above. Restore faces finds the people, aligns facial features, creates restored detail, and blends each result back into the photograph. There is no need to draw separate face crops for a group image. Keep the page open while the browser prepares the tools and processes the picture.
Begin with the default restoration strength, then compare the eyes, mouth, glasses, hairline, and expression. If the result looks more polished than you want, lower the strength and process the image again. The best result for a family album is often a balanced copy that is easier to recognize while remaining close to the mood of the original photograph.
05 / PHOTOGRAPHS & MEMORIES
Step 4: decide whether to add color
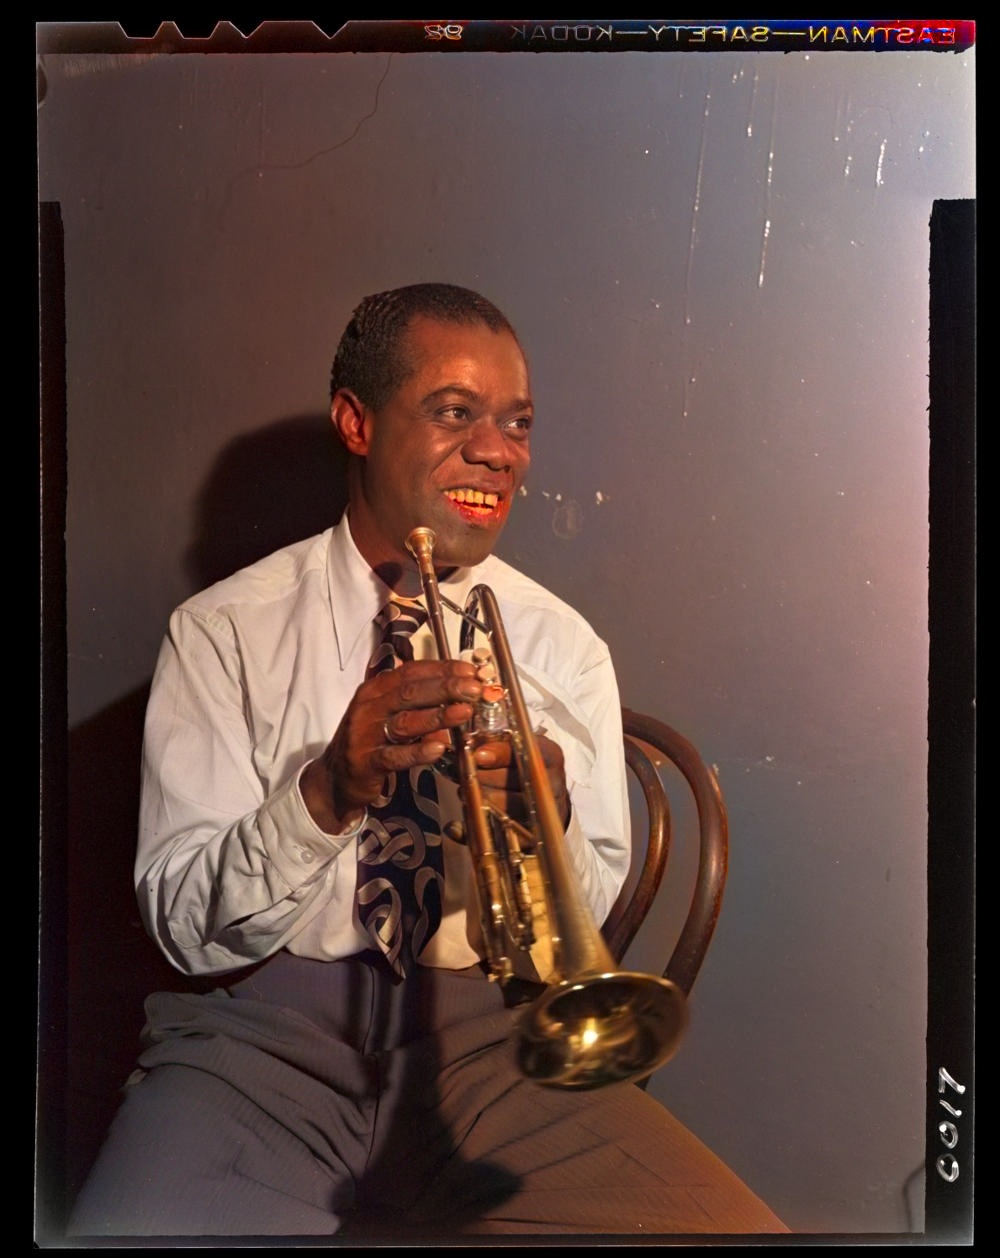
Colorization is optional. A black and white portrait may be most effective in its original tones, while a colorized interpretation may help younger relatives connect with the scene. Leave Add color off for monochrome restoration, or select it to create a color version. When both choices are enabled, facial restoration is applied before colorization.
Predicted colors are not a record of what was actually in front of the camera. Keep a note about the colorized version, especially if it will be used in a local history project or shared beyond the family. If someone remembers a particular garment or location, add that knowledge to the caption so it remains available beside the image.
06 / PHOTOGRAPHS & MEMORIES
Step 5: download, name, and back up the collection
Download PNG for a copy intended for further editing, or JPG for easier sharing. Give each result a name that connects it to the master scan, such as a year, album number, or family name followed by restored. Keep the source scan, restored copy, and colorized interpretation together in separate folders or clearly named files.
Share a few finished photographs with relatives before processing an entire archive. They may recognize an unfamiliar face, identify a street, or point out an expression that looks different from the person they remember. Add those notes to the collection. A second backup on another drive or a storage service of your choice makes the work easier to preserve and revisit.
THE DETAILS, SIMPLY PUT
A few common questions
How do I restore old photos for free?
Make a clear scan or phone capture, choose it in the tool, keep Restore faces selected, and compare the result. Download the finished image without signing in.
Should I scan or use my phone?
Both can work. A scanner is convenient for loose prints; a phone is useful for album pages. Even lighting, a parallel camera angle, and a sharp capture matter for either workflow.
Should colorization come before restoration?
With this tool, select both options and facial restoration runs first. For a monochrome result, leave colorization off.
What should I look at in the comparison?
Look at the expression, eyes, mouth, glasses, and hairline. Use a lower restoration strength if the new facial detail feels stronger than the original picture needs.
How should I save the result?
Keep the master scan unchanged and save the restored photo under a new filename. PNG is useful for keeping an editing copy; JPG is convenient for sending.
Can I restore a whole family album at once?
Process one photograph at a time. Starting with a few representative pictures helps establish a consistent scanning method, restoration strength, and file naming routine.