
01 / PHOTOGRAPHS & MEMORIES
Restore damaged photos one part at a time
A damaged print may combine fading, folds, scratches, stains, and missing paper. A digital workflow makes it possible to work on these problems separately while preserving a copy of the original. Start with a clean scan or phone capture, identify the most important subjects, and restore the details that make the scene recognizable.
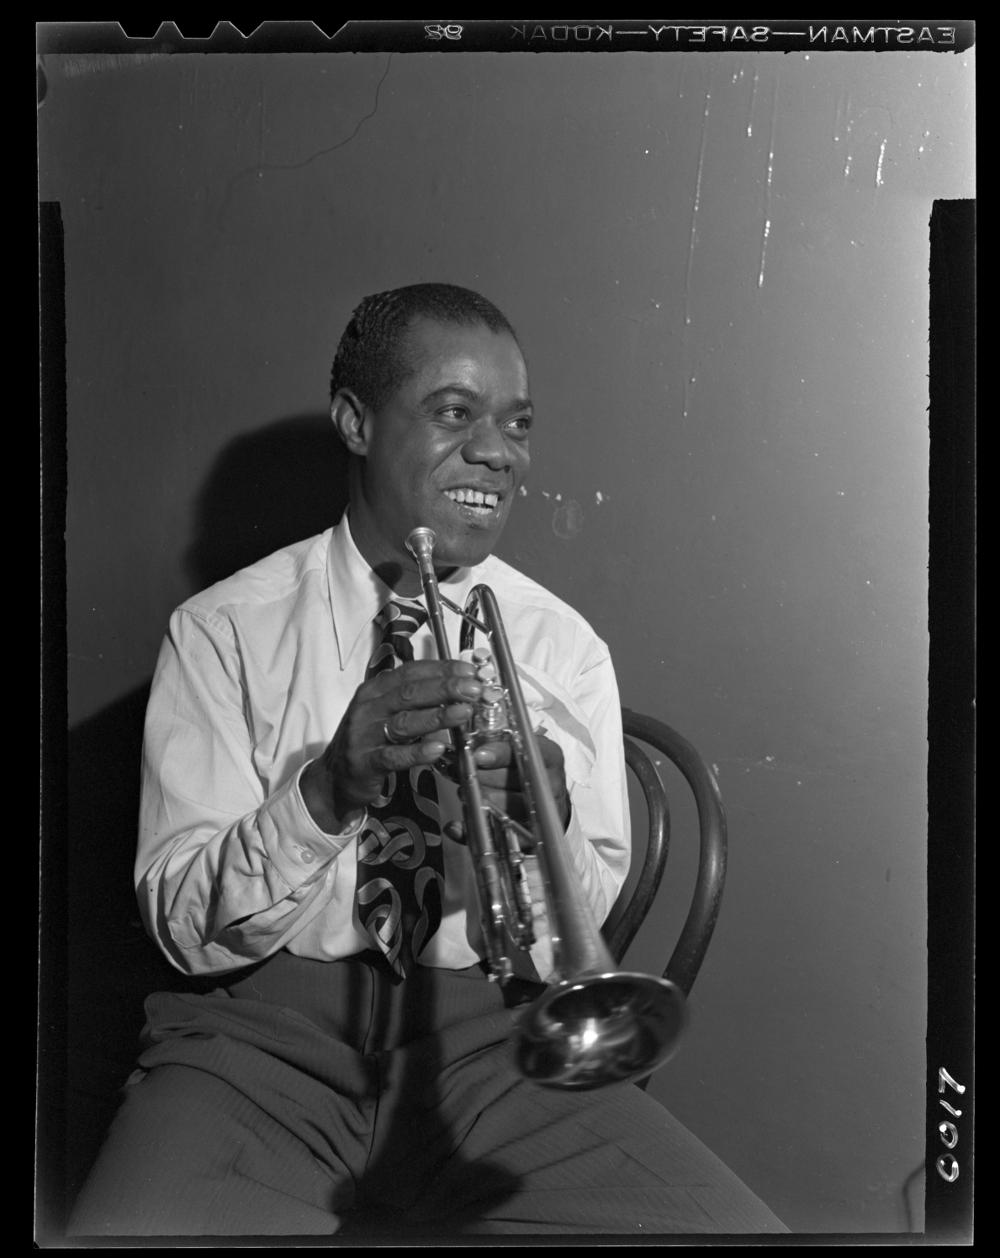
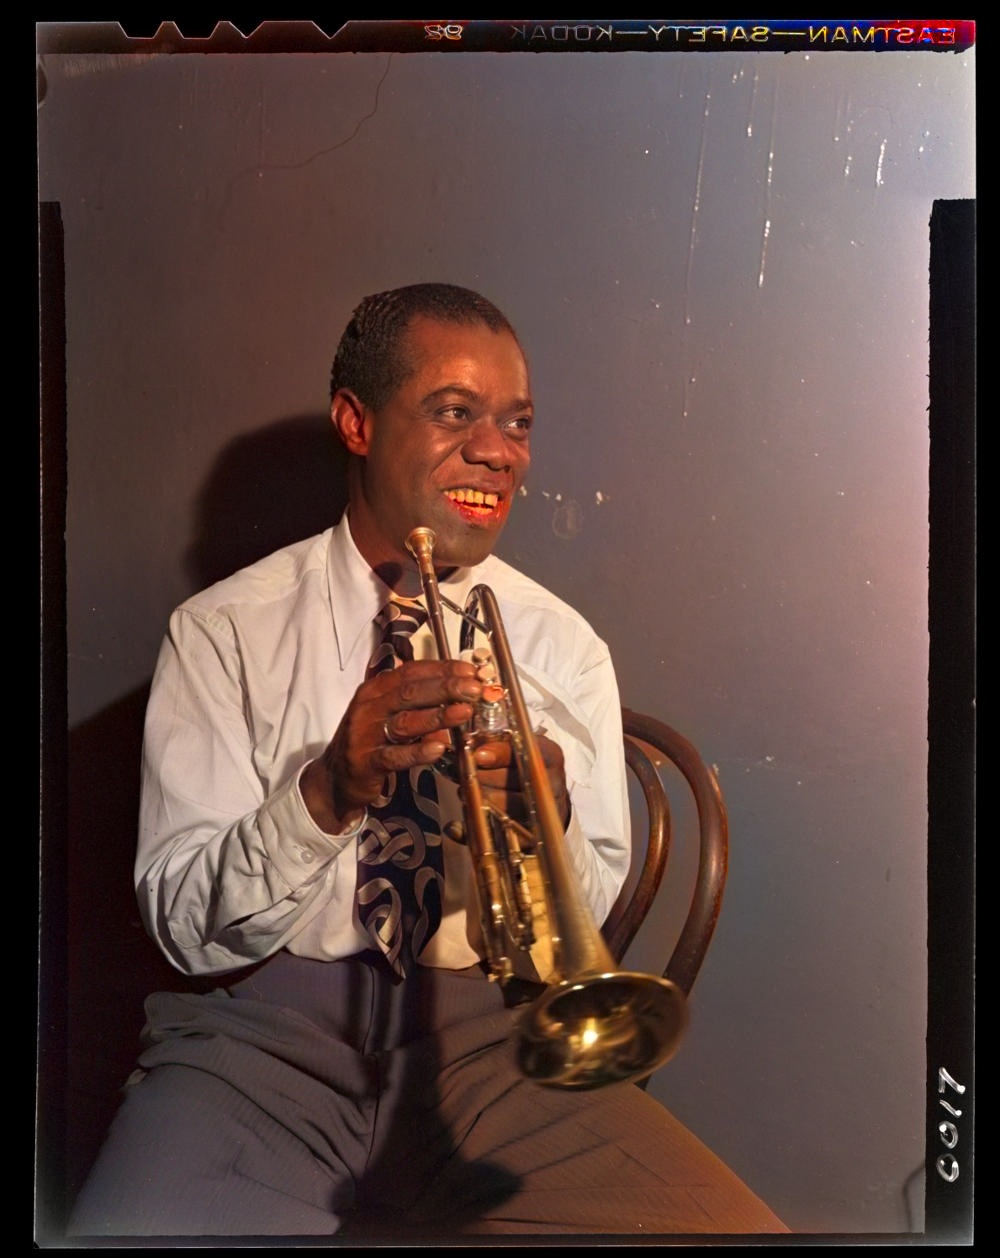
The tool on this page restores faces within the complete photo and offers optional AI colorization. Use it for the portrait stage of online photo repair for severely damaged images, then review the remaining parts of the picture. A recognizable expression can make a worn family photograph easier to appreciate even when the paper still shows its history.
02 / PHOTOGRAPHS & MEMORIES
Make a useful digital copy of a damaged print
Support the photograph on a flat surface and capture it with even light. If a fold creates a bright reflection, change the light direction before changing the image in software. A phone held parallel to the print helps reduce perspective distortion. For a loose photograph that sits flat, a scanner can provide a consistent starting point.
Capture the whole print, including damaged borders, before making a cropped working copy. Important context sometimes survives in an edge, handwritten note, or neighboring album image. Save that master scan separately. Then crop the working copy around the scene so the face restoration tool receives a clear view of the people.
03 / PHOTOGRAPHS & MEMORIES
Repair facial detail within a worn photograph
Select the scan above with Restore faces enabled. The browser finds faces, aligns them for restoration, and blends the results back into the picture. This keeps the group, room, and surroundings together. The strength control lets the restored detail sit more gently or more strongly against the scan.
Review the expression before concentrating on sharpness. A familiar mouth shape, glasses frame, or eye direction may matter more than a very crisp outline. Try a moderate strength first and move the comparison slider across each person. The complete photo remains visible, making it easier to judge whether the restored portrait still fits the surrounding scene.
04 / PHOTOGRAPHS & MEMORIES
Approach stains, folds, and missing corners separately
Damage outside a face often benefits from a local edit. A healing brush can blend a small stain, a cloning brush can rebuild an edge from nearby texture, and a careful crop may remove a badly damaged border without losing the subject. Work on a copy and take one small region at a time so the overall photograph remains easy to compare.
A missing corner of a plain background is different from a missing eye or hand. Use visible neighboring texture where it provides a useful reference. For an area with little surviving information, keep the original version available and label any reconstructed interpretation clearly. A restoration project can include both an archival scan and a more finished viewing copy.
05 / PHOTOGRAPHS & MEMORIES
Bring color to a faded or damaged scan
Colorization can make a photograph feel easier to connect with, especially for people who did not know the scene in monochrome. Select Add color alongside facial restoration when you want both steps. The tool restores facial detail first, then predicts color for the complete photo while retaining the source lightness.
Look across the whole frame after colorization. Faded areas, dark stains, and uneven paper tones still influence the source brightness, so the best starting point is a balanced capture. The colors are interpretations. Keep family notes about uniforms, favorite clothes, or a known building color beside the file when those details are available.
06 / PHOTOGRAPHS & MEMORIES
Organize the restoration project around the source
For a collection of damaged photos, make a simple record of the source print and each edit. Name the master scan, facial restoration, local repairs, and color version so the sequence is clear. Keep the source at the best quality available rather than replacing it with a smaller sharing image.
Use the browser download to save a PNG editing copy or a JPG sharing copy. Ask relatives to help identify people and places in the clearer image, then add those notes to the archive. For detailed scanning steps, follow the restoration guide; for long scratches, use the scratched photo page to plan small, controlled local edits around the restored portrait.
THE DETAILS, SIMPLY PUT
A few common questions
Can I restore damaged photos for free?
Yes. Use the browser tool to restore faces and add optional color, then download a copy without an account or payment.
What kinds of damage should I work on first?
Start with a clear digital capture and recognizable facial detail. Then consider remaining stains, scratches, borders, and missing areas as separate local edits.
Can the tool restore several people in a damaged photo?
Yes. Automatic detection can process up to eight detected faces in the complete photograph. Use the comparison slider to review each person.
How can I improve a folded print capture?
Use even light and change its direction until the fold produces less reflection. Keep the camera parallel to the print and preserve a full master scan before cropping.
Can I colorize the repaired photograph?
Yes. Select Add color together with Restore faces, or colorize a restored copy separately. Predicted colors are an interpretation of the image.
Which file should I keep?
Keep the original scan and each useful edited version. PNG is convenient for additional editing, while JPG is convenient for a smaller sharing copy.