
01 / PHOTOGRAPHS & MEMORIES
Fix scratched photos with a staged restoration workflow
A scratched photograph often has several different problems in the same frame. A fine mark may cross a cheek, a crease may catch the light, and a faded area may make the whole portrait look soft. The most useful way to work is in stages: make a clear digital copy, improve recognizable facial detail, then decide which remaining marks need local retouching.
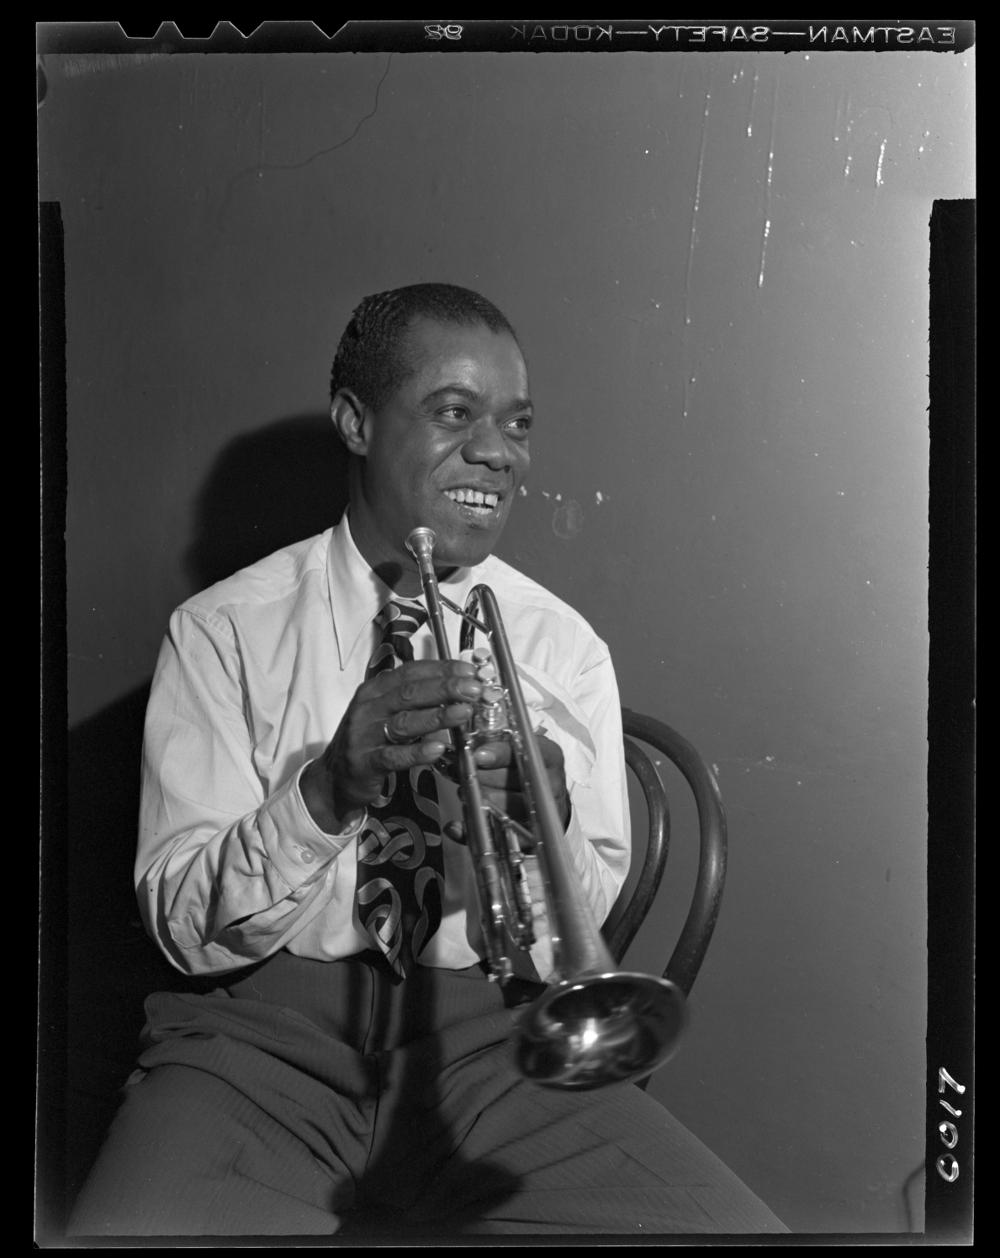
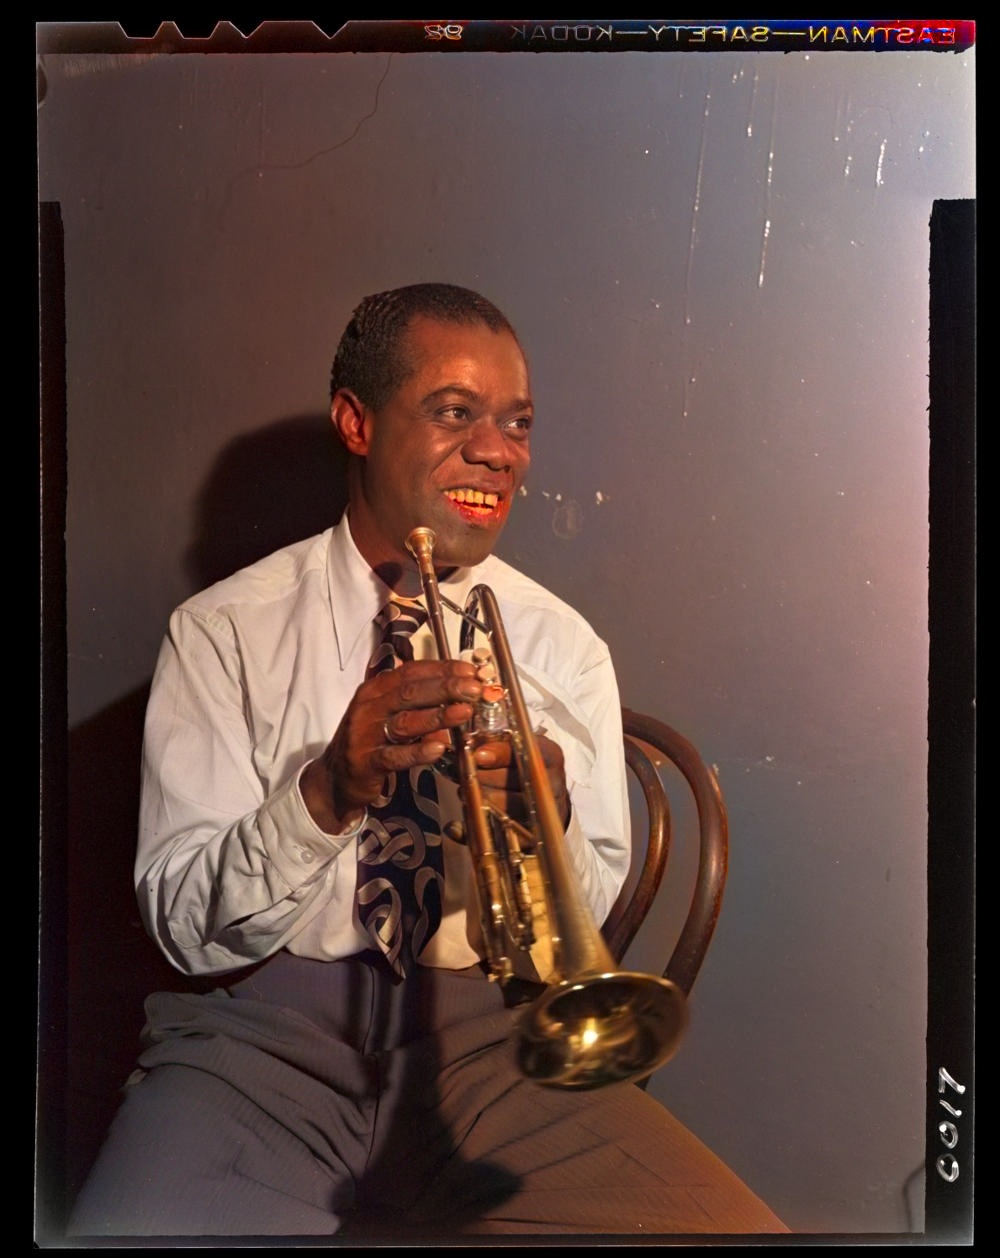
The tool above provides the face restoration stage directly in the browser. It detects faces, reconstructs facial detail, and blends the result into the full image. This can improve the portrait within a worn scan while keeping the rest of the photograph available for comparison. Use this page to work through scratched photos and choose the next edit based on the result you can see.
02 / PHOTOGRAPHS & MEMORIES
Capture scratches without adding reflections
A glossy scratch can look very different depending on the angle of the light. When photographing a print, move the lamp or window reflection out of the frame instead of pointing flash directly at the paper. A flatbed scan is another option for a loose print. Make a complete scan first, then use a separate cropped working copy for restoration.
Check a few areas at a closer view before editing: eyes, mouth, clothing, and any large plain background. A bright scratch across a flat wall is different from a fine mark within skin texture. Knowing where the damage sits helps separate the part face restoration can improve from the part that may need a small, targeted retouching brush afterward.
03 / PHOTOGRAPHS & MEMORIES
Restore the face inside a scratched portrait
Choose the scanned photo above and keep Restore faces selected. The browser finds facial landmarks and processes each detected face before returning the complete image. There is no need to cut out a separate headshot. Start with the default strength so the restored detail and original texture remain visible together.
Move the comparison slider slowly across the eyes, nose, and smile. For a scratch running through a face, look at the expression as well as the apparent sharpness. Try a lower strength for a subtle finish or a stronger setting when facial structure is difficult to distinguish. Keep whichever version makes the person easiest to recognize.
04 / PHOTOGRAPHS & MEMORIES
Use local retouching for scratches outside faces
For a remaining line on a background, coat, or album border, use a healing or cloning brush in a photo editor. Work on a separate layer or copy, choose a brush only slightly wider than the scratch, and use short strokes. Nearby undamaged texture is usually a better reference than a distant part of the picture with different lighting.
Where a scratch crosses an edge, treat the regions separately. Rebuild the plain background first, then the edge of the clothing or object. Repeated strokes across different materials can smear their boundaries. Returning to the full image regularly helps keep a locally tidy patch from looking too smooth compared with the rest of the print.
05 / PHOTOGRAPHS & MEMORIES
Keep grain and texture consistent
Old photo paper, film grain, and a slightly soft lens are part of how a photograph looks. A restoration can feel uneven when the face is extremely smooth but the surrounding print remains grainy. Use the strength slider to blend the new facial detail with the source. Compare the portrait at the size where it will actually be viewed, rather than judging only a very large zoom.
For a colorized copy, finish the main portrait restoration before adding color. Color can make some marks less obvious and others more noticeable, depending on the predicted palette. Save both the restored monochrome version and the colorized interpretation if each has a useful place in the album. The original scan remains the common reference for both.
06 / PHOTOGRAPHS & MEMORIES
Save a version you can revisit
When working to fix scratched photos, use filenames that make the sequence understandable: original scan, face-restored copy, locally retouched copy, and optional color version. It is easier to revisit an unfinished scratch when the starting point is clearly preserved. A short note about the print, people, and likely year adds context that a cleaner image alone cannot provide.
Use PNG for a result that will receive more retouching, or JPG for a smaller sharing copy. For folds, missing corners, and broader damage, continue with the damaged photo guide. For help making a better source image, the step-by-step restoration guide covers scanning, phone captures, cropping, and organizing the finished collection.
THE DETAILS, SIMPLY PUT
A few common questions
How can I fix scratched photos online?
Start with a clear scan, use the tool to restore facial detail, then compare the full photograph. Remaining marks outside faces can be handled with targeted healing or cloning in an editor.
Does this page include a free tool?
Yes. The face restoration and colorization tool is available directly above. Processing is free, runs in the browser, and does not require an account.
Can face restoration help a scratched portrait?
It can improve facial detail within a damaged scan. Compare the eyes and expression, and adjust strength to blend the restored face with the original texture.
What should I do about a scratch on the background?
A small healing or cloning brush is useful for a local background mark. Use nearby texture, short strokes, and a separate copy of the image.
Should I add color before repairing scratches?
Begin with a good scan and restore the portrait first. Add color afterward when you want a color interpretation of the finished picture.
Can I download a copy for more editing?
Yes. Download PNG for further retouching or JPG for sharing. Keep the master scan under a different filename.